
How to Level a Travel Trailer
Level a travel trailer in the right order — side to side with blocks while hitched, then front to back with the tongue jack — and avoid common mistakes.
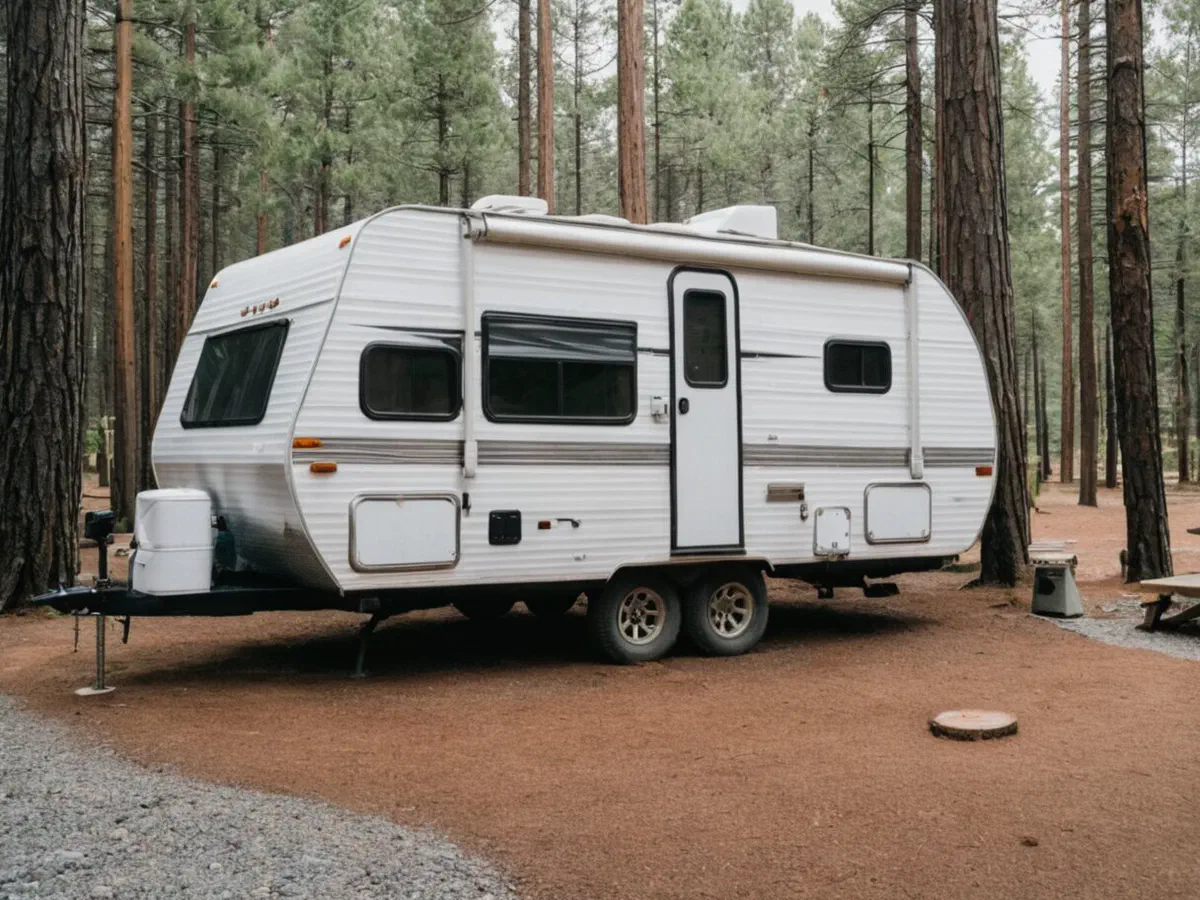
To level a travel trailer, raise the low side with blocks while it’s still hitched, then unhitch and level front to back with the tongue jack. Doing it in that order means the tow vehicle is still attached for the part that needs the trailer to move — pulling the low-side tires onto the blocks — and the tongue jack handles front to back once the trailer is chocked and unhitched. You may still need to pull off and adjust the blocks if the first attempt isn’t level.
This guide covers a typical single- or tandem-axle travel trailer without an automatic leveling system. Your trailer’s owner’s manual comes first — if it gives different instructions, follow those.
Why leveling matters
A level travel trailer isn’t just more comfortable. Forest River’s owner’s manual points out several practical reasons:
- Refrigerator: an absorption refrigerator needs to be level to keep cooling while the trailer is parked.
- Windows: rainwater that collects in window frames drains out through weep holes; if the trailer isn’t level, it may not drain properly and can damage the window or wall.
- Doors and windows should operate freely once you’re set up — if they bind, the frame may be twisted.
What you need
- A way to read level in both directions: bubble levels mounted on the front and side of the trailer, a phone app, or a dedicated RV leveler.
- Leveling blocks or boards. Plastic leveling blocks, or solid wood boards with no knots or cracks. A board should be wide enough that the tire never hangs over the edge, and long enough for the tire — or both tires on a tandem axle — to rest completely on it. If you use ramps, check their weight rating against your trailer’s weight.
- Wheel chocks.
- Small blocks or pads for under the tongue jack and stabilizers on soft ground.
Not sure whether blocks or ramps suit you better? See Leveling Blocks vs Ramps.
Step by step
- Choose the flattest spot available on firm ground that will support the trailer’s weight. Note which side is low.
- Check side-to-side level while still hitched. A level on the front of the trailer that you can see from the driver’s seat makes this easier.
- Place blocks in front of (or behind) the low-side tires. On a tandem axle, put blocks under both tires on that side. If you stack more than one layer, stagger them so the tires roll up one layer at a time.
- Drive onto the blocks slowly, ideally with a spotter, and stop with the tires fully on the blocks. Re-check the level. If it’s still off, pull forward (or back) off the blocks, stop, set the tow vehicle’s parking brake, and only then add or remove a layer — never adjust blocks under a tire that’s sitting on them. Sometimes moving the trailer a foot or two is enough on its own.
- Chock the wheels on both sides, in front of and behind the tires, before you unhitch.
- Unhitch and level front to back. Before you release the coupler, lower the tongue jack onto firm ground — with a pad under the foot on soft ground — until it is carrying the tongue weight. Then disconnect, raise the coupler clear of the ball, and adjust the tongue jack until the trailer is level front to back. If you use a weight-distributing hitch or sway control, release and remove it following its manufacturer’s instructions. A level mounted on the side of the trailer lets you watch the bubble while you work the jack.
- Lower the stabilizer jacks until they meet the ground, to reduce rocking.
- Check your setup: doors and windows should open and close freely, and the frame shouldn’t look twisted or stressed.
Stabilizer jacks are only meant to steady a trailer that is already level. Don’t use them to raise the trailer or to carry its weight — that can damage the jacks, the frame or both.
Leveling a travel trailer side to side
Side to side is the harder direction, because a travel trailer has no jack on each side — the only way to raise the low side is to move the tires onto something.
- Measure first. Read the tilt before you place anything, so you know roughly how much lift the low side needs instead of guessing block by block.
- Raise only the low side. You’re lifting the low tires up to the level of the high ones, not lowering anything.
- Keep the tire fully supported. Every tire should sit completely on its block or board, never overhanging an edge.
- If you need a very tall stack, the site is probably too steep. Look for a flatter spot rather than building higher than your blocks are designed for.
Once you know how much the low side needs to rise, the Leveling Block Calculator works out how many blocks that takes for your block size.
Common mistakes
- Unhitching before chocking. Chock the wheels first — once the trailer is off the tow vehicle, the chocks are what keep it from rolling.
- Using stabilizers to level. See the warning above.
- Leveling front to back first. You’ll usually have to redo it after you drive onto the side-to-side blocks.
- Packing up in the wrong order. Before you move the trailer, retract the stabilizers and steps, then re-hitch: lower the coupler onto the ball, lock the latch with its safety pin, cross the safety chains under the tongue and connect them, connect the wiring and any breakaway cable as your owner’s manual describes, and raise the tongue jack fully. If you use a weight-distributing hitch or sway control, reinstall and check it following its manufacturer’s instructions. These are the hitch steps that matter for leveling, not a complete hitching checklist — follow your owner’s manual and hitch instructions. Only then remove the chocks, pull off the blocks and stow them.
For a full safety checklist, see RV Parking and Leveling Safety. For motorhomes and fifth wheels, start with How to Level an RV.
Using a Bluetooth leveler
Climbing in and out to check bubble levels is what makes leveling slow. The Qorvan RoamLevel app works with a Qorvan RL1 leveler mounted in the trailer: you choose Caravan / Travel Trailer as the RV type and enter its size and your block type. The app then suggests a lift for each of four positions — front left, front right, rear left and rear right — and shows the side-to-side and front-to-back tilt.
On a travel trailer, read those four positions as a picture of which corner is low rather than as four places to put blocks: the difference between the left and right sides tells you which tires to block and roughly how high, while a low front or rear is corrected with the tongue jack after you unhitch, not with blocks. Follow the steps above, and use the app’s tilt reading to check each stage.
A leveler helps you read tilt and plan blocks. It doesn’t replace wheel chocks, your trailer’s brakes and stabilizers, the owner’s manual, or your own judgment on site.